Free shipping for US orders over $150
Free shipping for US orders over $150

A leaning landscape light does not necessarily mean the entire fixture must be replaced. The bulb, housing, wiring, and stem may still be in good condition, while the ground spike below the fixture has cracked, bent, stripped, or become loose.
Replacing the damaged stake can restore the fixture’s position and help keep your outdoor lighting layout properly aligned. The repair is usually manageable with basic tools, but you must choose a compatible replacement and handle the landscape cable carefully.
This guide explains how to identify a damaged ground spike, remove it safely, install the replacement, and reduce the risk of the light leaning again.
For a broader overview before beginning the repair, read what ground spikes are and when you should use them.
A repeatedly leaning light can indicate a cracked stake, a loose mounting connection, or soil that no longer supports the fixture properly.
Inspect the light for these warning signs:
Common contributors to ground-spike damage include contact with lawn equipment, installation against rocks or roots, repeated fixture movement, and excessive force during installation.
Before purchasing a new stake, remove enough soil around the base to confirm whether the problem is the spike, the fixture connection, or loose ground.
Replacing the spike is generally appropriate when the fixture still operates, the stem is intact, and the landscape cable is undamaged.
You may need to replace or professionally repair the complete fixture when:
When the fixture, threads, and cable remain in good condition, installing a compatible replacement stake may restore the light without requiring a new fixture.
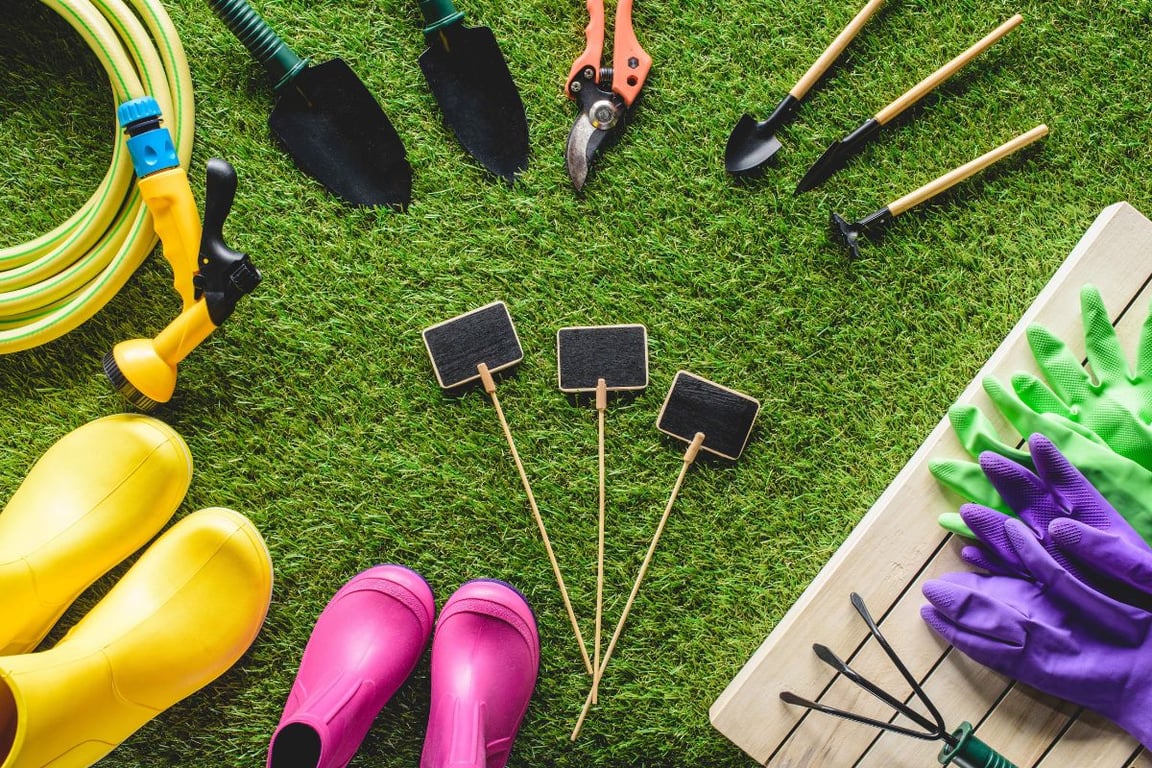
Gather the necessary tools before loosening the soil around the light:
Depending on the condition of the installation, you may also need additional landscape lighting accessories, such as mounting components, risers, connectors, or installation tools.
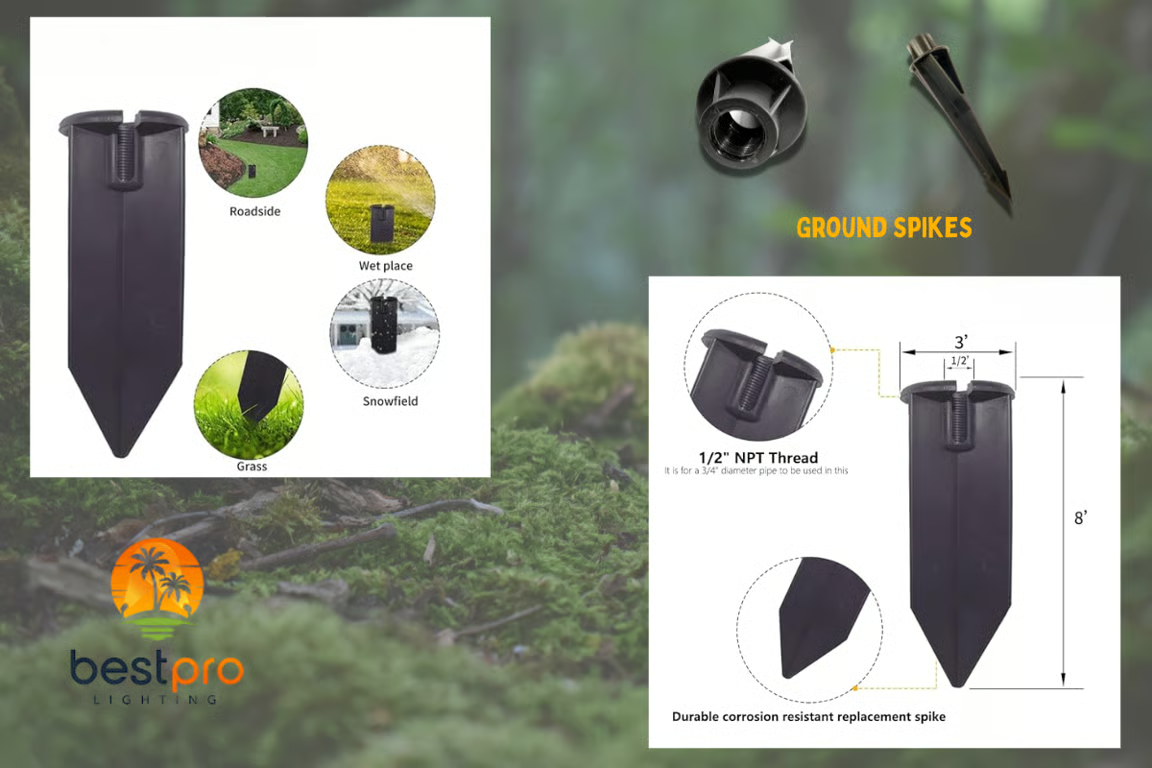
Ground spikes are not always universal. Two stakes may appear similar but have different thread sizes, wire openings, lengths, or mounting systems.
Check the following details before ordering.
Thread Size and Mounting Style
Inspect how the existing spike connects to the fixture stem. Some fixtures screw directly into a threaded stake, while others use a separate mounting piece or fastener.
The replacement should connect smoothly without forcing the threads. A stake that is too large, too small, or cross-threaded will not support the fixture correctly.
Cable-Routing Design
Determine how the fixture cable passes through or around the existing stake. Depending on the design, the cable may:
The replacement must provide enough room for the cable without crushing it or creating a sharp bend.
Fixture Size and Weight
A larger or heavier fixture may benefit from a more substantial stake, provided the thread, mounting style, and cable-routing design are compatible.
Do not choose a stronger or longer spike based only on appearance. The connection to the fixture is just as important as the stake’s size.
Installation Area
Consider the condition of the soil where the light will be installed. Loose, sandy, saturated, or frequently disturbed soil may not support a small stake as well as firm garden soil.
In rocky or compacted areas, prepare the ground before installing the replacement rather than forcing the stake through an obstruction.
Review the fixture documentation or Best Pro Lighting’s product instruction sheets when available before removing or replacing mounting components.
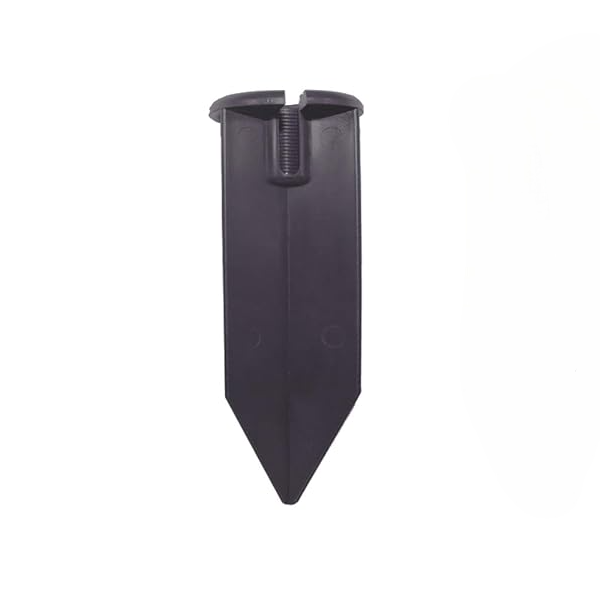
Best Pro Lighting offers replacement stakes for compatible outdoor lighting fixtures.
The Heavy Duty Ground Spikes BPL70-HD provides a straightforward mounting option for compatible fixtures. The Super Duty Ground Spike with Groove includes a defined groove that may help accommodate the fixture cable.
Compare both options in the complete ground-spikes collection. Confirm the thread size, mounting connection, and cable path before placing an order.
1. Turn Off the Landscape Lighting System
Switch off the landscape lighting transformer before handling the fixture or cable.
Do not assume the system is off because the lights are not illuminated during the day. A photocell or timer may be preventing them from turning on while the system remains powered.
Confirm that the lights do not operate before beginning the repair.
2. Inspect the Area Around the Fixture
Remove mulch, leaves, or other surface material so you can see where the fixture and cable enter the ground.
Identify the likely path of the landscape cable before using a hand trowel. If the repair requires digging outside the existing fixture opening, follow applicable utility-marking and local digging requirements.
Work slowly around irrigation tubing, edging, roots, and nearby landscape wiring.
3. Expose the Damaged Stake
Use a hand trowel to loosen the soil around the spike. Keep the tool angled away from the landscape cable.
Remove enough soil to expose the top of the stake and its connection to the fixture. If the spike has broken below the surface, carefully widen the opening until the remaining section can be gripped.
Hold the light near its stem or base. Do not pull it upward by the shade, lens, or fixture head.
4. Separate the Fixture From the Old Spike
Examine the connection before turning any part.
If the fixture uses a threaded stake, hold the fixture stem steady and carefully unscrew the damaged spike. Turning the stake instead of repeatedly rotating the entire light can help prevent the cable from twisting.
When the parts are difficult to separate:
If the lower part of the spike remains underground, grip it with pliers and pull it upward while moving it gently from side to side.
5. Inspect the Fixture and Cable
Before attaching the replacement, check the fixture for:
Clean the mounting area with a dry brush or cloth.
Do not restore power if the cable has exposed conductors or significant damage. If a connection must be remade, use a suitable waterproof wire connector designed for low-voltage landscape lighting and follow its installation instructions. Contact a qualified installer when the required repair is beyond your experience.
6. Prepare the Soil
Remove pieces of the old spike, stones, roots, and compacted debris from the opening.
Prepare a narrow installation path for the new stake. Avoid creating an oversized hole because loose backfilled soil may not hold the fixture upright.
Adjust the preparation method to the location:
Moving the fixture a short distance may be safer than forcing a ground spike through a large root or rock.
7. Route the Landscape Cable
Pass the cable through the opening or groove provided by the replacement.
Make sure the cable:
Do not pull the cable aggressively to create more slack. This could disturb a connector elsewhere in the system.
8. Attach the New Ground Spike
Connect the replacement stake to the fixture according to its mounting design.
Start threaded connections by hand. The parts should turn together smoothly and remain properly aligned.
If the stake becomes tight immediately or begins to sit at an angle, stop and restart the connection. This can help prevent cross-threading.
Tighten the stake until it is secure, but do not overtighten it. Excessive force may damage the stake or fixture stem.
9. Insert the Spike Into the Ground
Position the spike vertically in the prepared area and begin pressing it into the soil by hand.
When more force is required, place a small wooden block over the appropriate part of the stake and tap the block gently with a rubber mallet. Do not strike the fixture housing, lens, shade, stem, or threaded connection.
Check the alignment with a level as the spike enters the ground. Correct a slight lean before it is fully installed.
The required depth will depend on the stake design, fixture, and soil conditions. Install it deeply enough to hold the light securely without burying parts of the fixture that are intended to remain above ground.
10. Compact the Soil Around the Stake
Add firm soil around the spike in small amounts and press it down evenly on all sides.
Do not rely on loose mulch as the primary support. The stake should be anchored in the soil beneath the mulch.
When finished, gently test the fixture at its base. It should remain upright without rotating or moving easily.
11. Restore Power and Test the Fixture
Turn the transformer back on and confirm that the light operates normally.
Check that:
Complete the final aiming after dark, when the beam direction and coverage are easier to evaluate.
For projects involving new cable runs, transformers, or several fixtures, review the complete guide on how to install low-voltage landscape lighting.
1. Choosing a Stake Based Only on Appearance
A similar shape does not guarantee a compatible thread, cable opening, or mounting connection. Compare the original part with the product specifications before purchasing.
2. Rotating the Entire Fixture Repeatedly
Spinning the light can twist the landscape cable and place stress on its connections. Hold the fixture steady and turn the removable stake whenever the design allows.
3. Hammering the Light Fixture
Direct impact may damage the housing, lens, socket, finish, or stem. Apply force only to a suitable part of the stake and protect it with a wooden block.
4. Making the Installation Hole Too Wide
A wide opening filled with loose soil may allow the new stake to lean. Prepare a narrow opening and compact the soil firmly around the replacement.
5. Installing the Stake Only in Mulch
Mulch does not provide the same support as firm soil. The ground spike should extend through the mulch and into stable ground.
6. Ignoring Cable Damage
A replacement stake cannot correct damaged insulation or exposed wiring. Inspect the cable before completing the installation and do not energize a visibly damaged connection.
Inspect outdoor lights periodically, especially after heavy rain, irrigation repairs, gardening work, or lawn maintenance.
Help protect the replacement by:
A quick inspection can identify movement before it damages the stake, fixture, or cable.
Restore the position of a leaning or damaged landscape light with a replacement stake suited to the fixture and installation area.
Best Pro Lighting offers ground spikes for landscape lighting, along with mounting components, waterproof connectors, risers, and other accessories for outdoor lighting repairs.
Compare the available options and verify the thread size, fixture connection, and cable-routing design before placing your order.
Q: Can I replace a ground spike without disconnecting the landscape light?
A: Possibly. Some fixtures allow the stake to be changed while the existing cable remains connected. This depends on the mounting design and the amount of available cable slack. Turn off the transformer first, and stop if the cable begins twisting or pulling against a buried connection.
Q: Are landscape-light ground spikes universal?
A: No. Ground spikes may use different thread sizes, mounting styles, cable openings, lengths, and materials. Compare the replacement with the original stake and confirm its compatibility with the fixture.
Q: Can I replace a plastic stake with a heavy-duty ground spike?
A: A plastic stake may be replaced with a heavier option when the thread, mounting connection, and cable-routing design are compatible. A larger stake should not be forced onto a fixture that was designed for a different connection.
Q: Why is the landscape light still leaning after replacing the stake?
A: The installation hole may be too wide, the surrounding soil may be loose, or the stake may not extend far enough into stable ground. Remove the light, prepare a narrower opening, reinstall the stake vertically, and compact firm soil around it.
Q: Can I hammer a ground spike into hard soil?
A: Do not hammer the landscape light or force the stake against rocks and roots. Loosen compacted soil first. If light tapping is necessary, protect the stake with a wooden block and use a rubber mallet rather than striking the fixture directly.

Opening Hours
Monday – Friday 7:30am - 3:30pm PST

Need Help?
Fast answers to common questions.

Stay in the Loop
Be the first to know about new arrivals, sales & tips — it's free!