





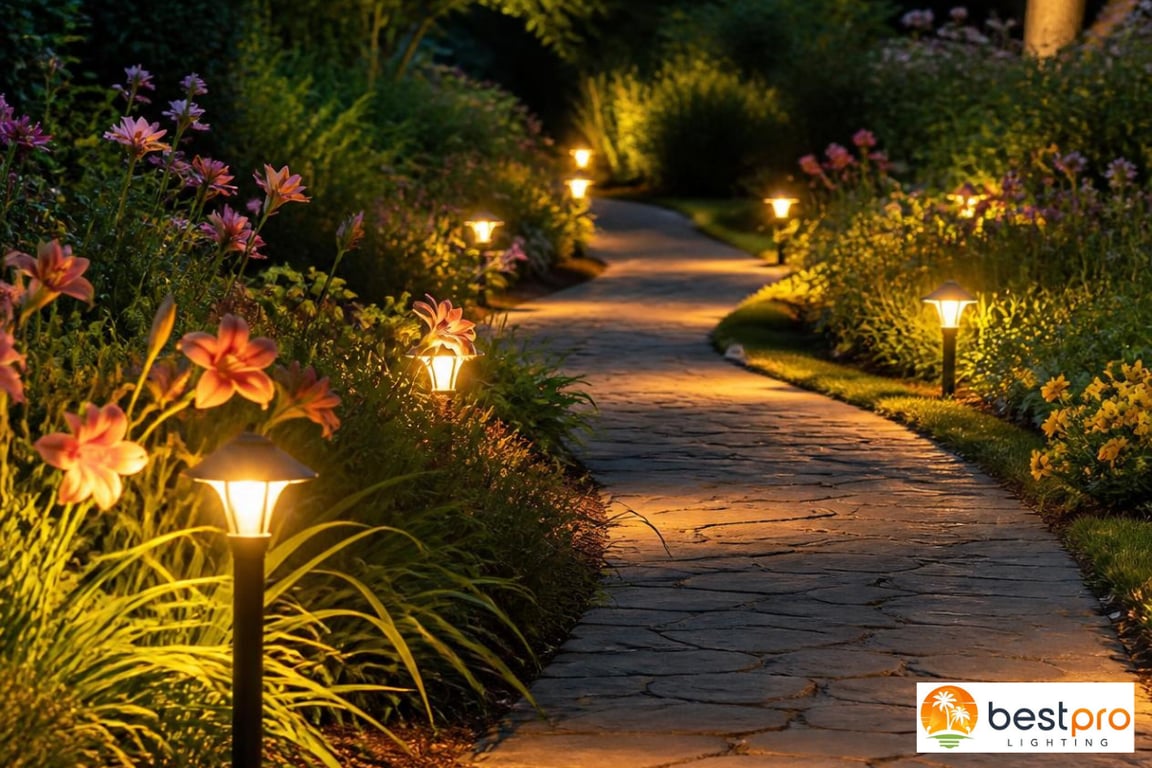
Summer brings longer evenings, fuller gardens, and more time outdoors. Proper pathway light spacing helps define walkways, garden beds, and entrances without making the landscape feel overly bright.
For most residential settings, pathway lights should be placed about 6 to 8 feet apart. The ideal distance depends on the fixture’s light spread, the shape of the path, nearby plants, and the level of visibility required.
The General Rule for Path Light Spacing
A spacing of 6 to 8 feet works well for many straight walkways. This usually allows the pools of light to overlap slightly while avoiding the rigid appearance of a brightly lit runway.
Move the fixtures closer together when:
- The walkway has curves, steps, or elevation changes
- Dense plants block some of the light
- The path is made from uneven stone or gravel
- The fixture produces a narrow light spread
- Stronger visibility is needed near an entrance
Use wider spacing when the goal is soft, decorative garden lighting.
Before completing the installation, place the fixtures temporarily and inspect the layout after dark. A daytime arrangement may look even but still leave shadowed areas at night.
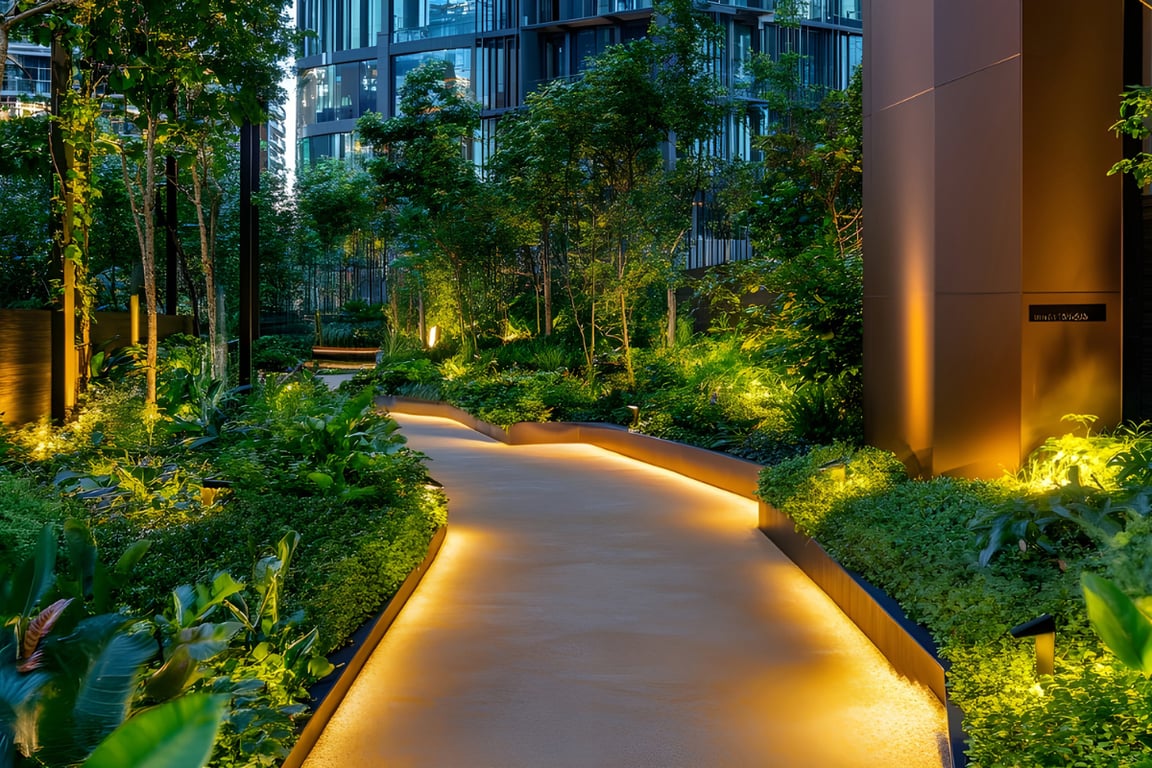
Recommended Spacing by Path Type
Straight Walkways: 6 to 8 Feet
For a straight front or backyard walkway, begin with fixtures 6 to 8 feet apart. Stagger them on opposite sides of the path instead of placing them directly across from one another. This creates a more natural look and spreads the light across the walking surface.
Include a light near each entrance or transition.
Curved Garden Paths: 4 to 6 Feet
Curves often require closer spacing because light does not travel around bends. Place a fixture near each important turn and add another where shrubs or ornamental grasses may block illumination.
Summer growth matters. Keep fixtures outside the mature spread of nearby plants whenever possible so leaves do not cover the light.
Steps and Elevation Changes: 3 to 5 Feet
Do not rely only on regular spacing around steps. Position lights where they reveal the first step, final step, landings, and changes in direction.
Path lights can support visibility, but dedicated step and deck lights may be a better choice when stairs need direct illumination.
Garden Borders: 6 to 10 Feet
Lights along a flower bed can be spaced more widely when their main purpose is to define the border and add atmosphere. Use closer spacing beside narrow walking areas and wider spacing where the light can spread freely.
How Fixture Design Changes the Spacing
Fixture height, bulb output, and shade design all affect pathway light spacing. A mushroom-style fixture directs light downward and outward, helping illuminate the path while reducing the view of the bulb.
The BPL301 LED Low Voltage Mushroom Landscape Light in Rust is designed to add soft, focused light to pathways, planting beds, and outdoor gathering areas. Its capped shape and rust finish also blend naturally with soil, mulch, stone, and plants.
For this type of fixture, start with approximately 6 feet between lights. Test the layout at night, then adjust the spacing based on the walkway width, surrounding vegetation, and desired brightness.
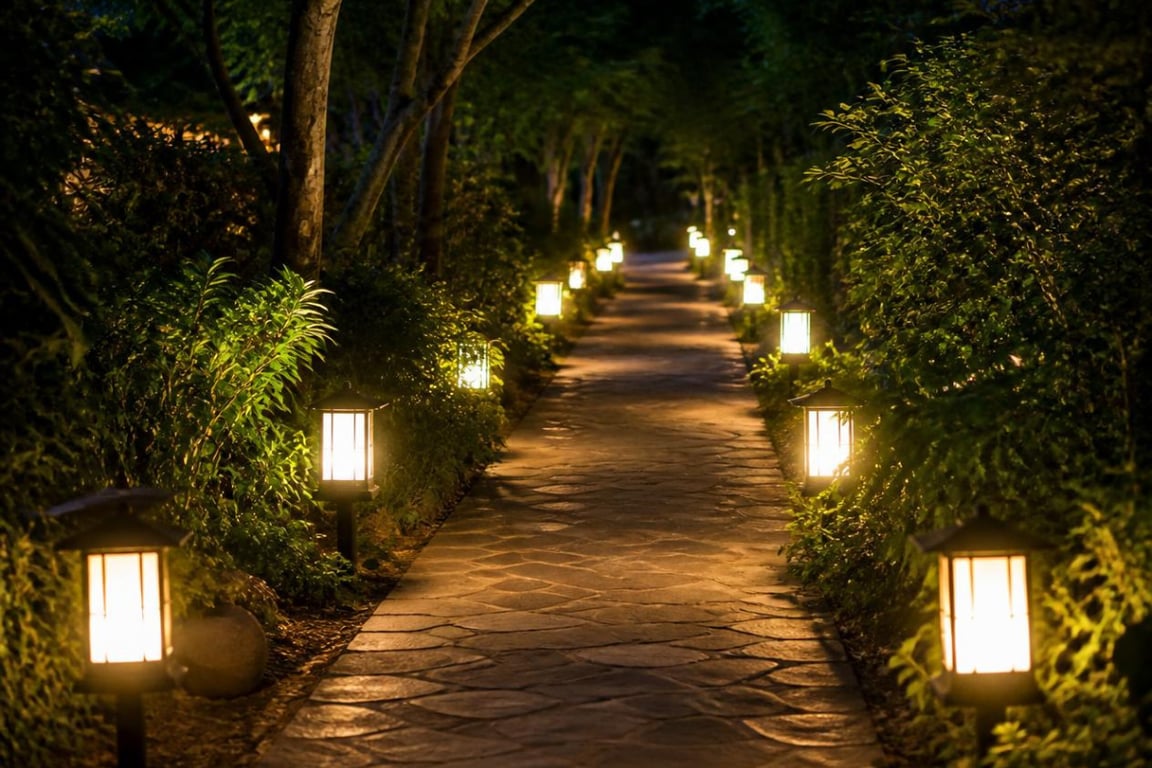
Should Pathway Lights Be Placed on Both Sides?
A matching row on each side is not usually necessary. Alternating fixtures from one side to the other can provide balanced illumination with fewer lights.
Use both sides when the path is wide or plants block one side. Avoid directly opposing fixtures unless the design is intentionally formal.
How Many Pathway Lights Do You Need?
Measure the path and divide its length by the planned spacing. Then account for entrances, curves, steps, and obstacles.
For example:
- A 24-foot walkway with 6-foot spacing may need four or five lights
- A 40-foot path with 8-foot spacing may need five or six lights
- A curved 30-foot path with 5-foot spacing may need six or seven lights
These figures are starting estimates. Add a fixture where a safety concern or dark area requires more light.

Summer Pathway Lighting Tips
Walk the path after sunset and check for glare, shadows, or fixtures hidden by summer foliage.
Remember to:
- Trim plants that cover fixtures
- Keep lights clear of mowing and edging routes
- Direct light toward the path, not nearby windows
- Secure each fixture firmly in the ground
- Calculate the system wattage before selecting a low-voltage transformer
For more planning help, read Best Pro Lighting’s guide to installing low-voltage landscape lighting .
Create a Better-Lit Summer Garden
The right spacing provides enough visibility without overpowering the landscape. Begin with 6 to 8 feet between fixtures, move the lights closer near curves and steps, and test the full layout after dark.
Explore the BPL301 Rust Mushroom Landscape Light or browse additional low-voltage path lights from Best Pro Lighting.
Frequently Asked Questions
Q: Can Pathway Lights Be Too Close Together?
A: Yes. Lights placed too close can create excessive brightness, hot spots, and a runway effect. Start with 6 to 8 feet and adjust after testing the system at night.
Q: Is It Better to Stagger Pathway Lights?
A: Staggering usually works well in residential gardens because it distributes light across the path while creating a natural appearance.
Q: How Far Should Lights Be From the Walkway Edge?
A: Place them far enough from the edge to avoid being kicked or struck by lawn equipment, while keeping the light close enough to reach the walking surface.
Q: Where Can I Buy Low-Voltage Pathway Lights?
A: Best Pro Lighting offers mushroom lights, LED path lights, transformers, and accessories for outdoor lighting projects.