Free shipping for US orders over $150
Free shipping for US orders over $150


Here at Best Pro Lighting, our fixtures are designed to make light installation easy for the everyday handyman. With no electrical experience whatsoever, you can quickly learn to change over your old, outdated fixtures and swap them for some new, modern LED light fixtures, no problem. Below is a step-by-step guide for once your fixtures arrive. Enjoy!
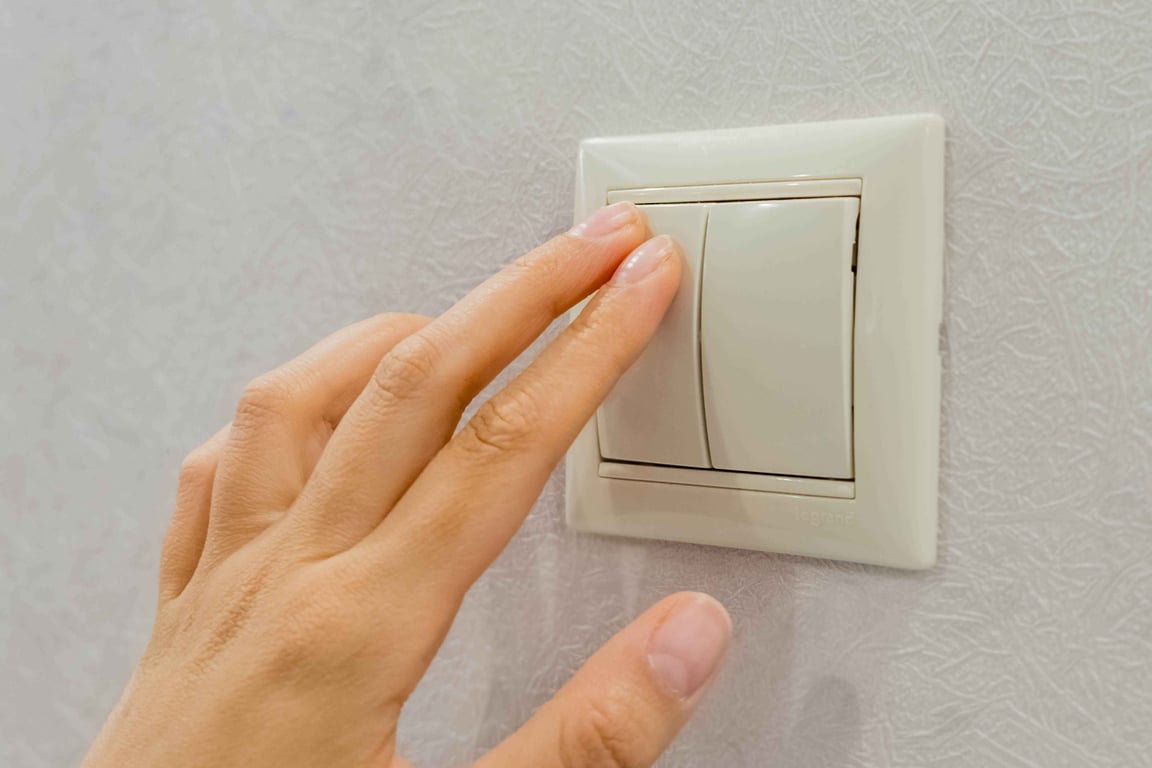
The first thing you need to do is shut off the power directly from its source. Even if a circuit is switched off, the live wire can still be dangerous with the potential to shock you. This means knowing where your electrical panel is, and flipping the correct switch before you attempt to dismantle the old fixture. We recommend leaving your modern LED light fixtures on that you’re changing out, and when they are shut off, you’ll know you got the right switch. It also helps to label your panel for future swaps.
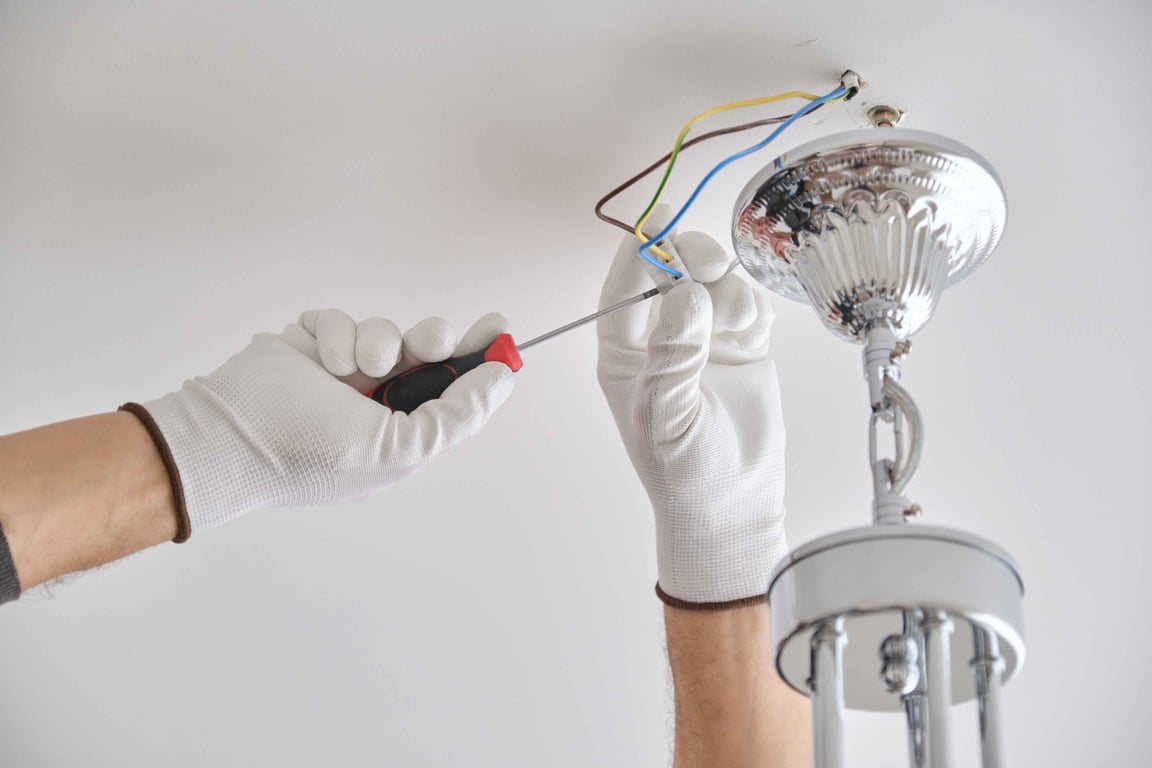
The rounded covering that conceals the wiring and hardware for your modern LED light fixture is called the canopy. Lying flushed to the ceiling, this covering serves its purpose by hiding everything and usually only requires a screwdriver to remove. Once unscrewed, place its fittings in a safe spot and let the canopy drop down.
When you’re installing your modern LED light fixtures, you will be connecting three wires from the fixture to three wires installed in the ceiling, then mounting the fixture’s hardware. Once the canopy is dropped, you will see three sets of wires—black, white, green (or copper)—that need to be disconnected to remove the old fixture. Unscrew the wire connectors (they should be red) to separate the fixture’s wiring from the ceiling wiring.
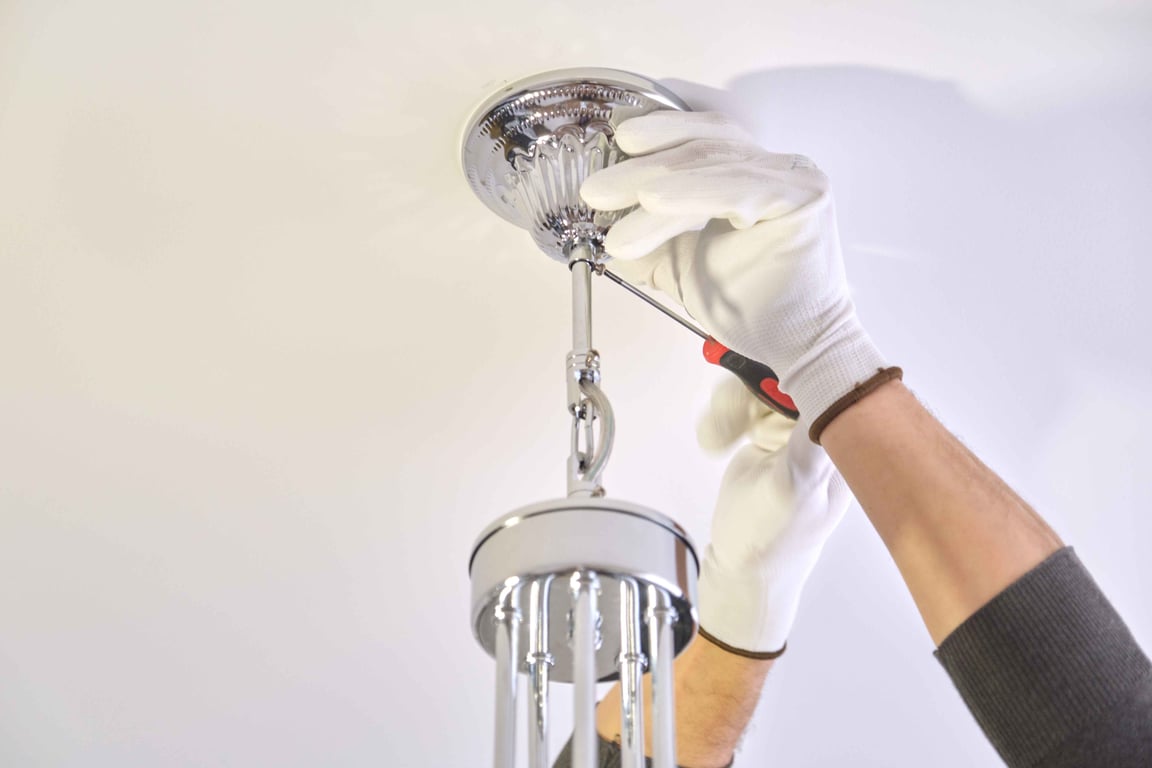
Once the wires have been disconnected, the old fixture can be easily removed. It helps to have another person to assist you if the fixture is heavy or awkward, giving you an easy ability to unscrew it without fear of it dropping to the ground. The installation of a new bracket can sometimes be skipped if the old bracket is in good condition, however, if your modern LED light fixtures come with new brackets, it’s best to use them!
The wires that are currently descending from your ceiling will have bare ends, while the new ones will possess frayed silver ends. Twist the threads on the end of your new black wire to the exposed end of the existing black wire, twist on the wire connector, and then repeat with the white wire. The green (or copper) wire of the new fixture might vary, but it will connect to the grounding screen directly in the ceiling. Remember to reference your light fixtures instructions.
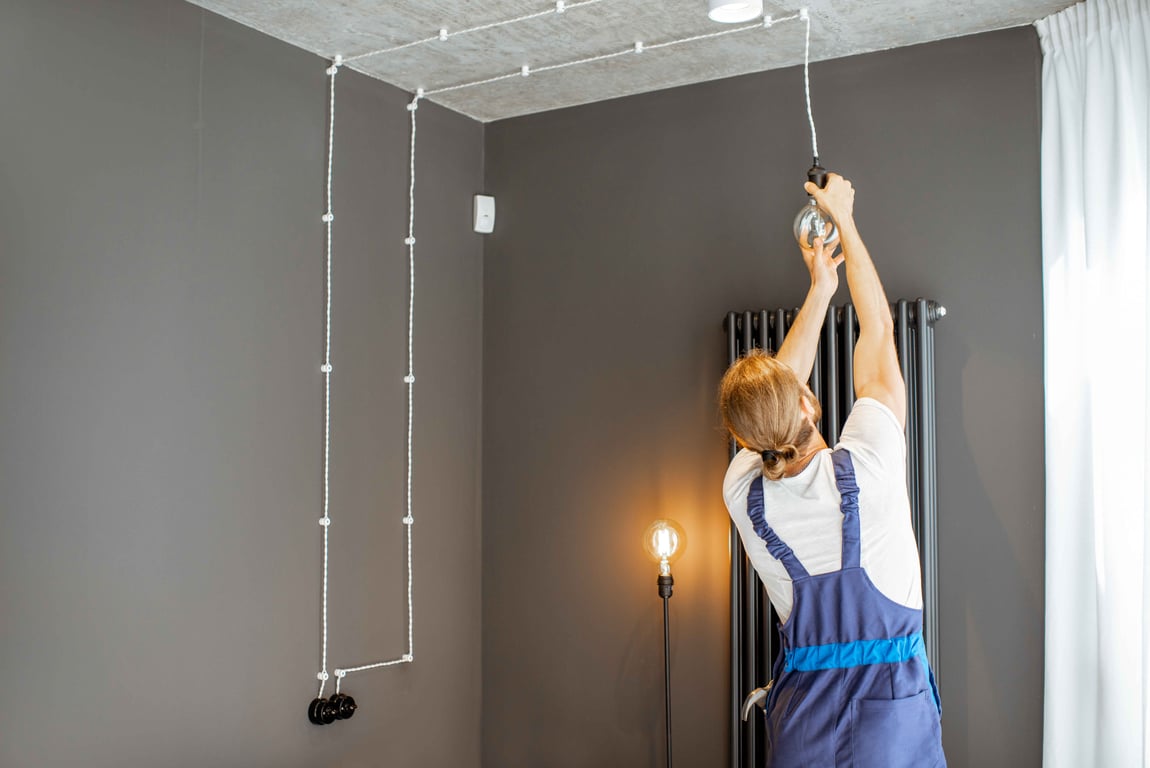
If the modern LED light fixture you have selected has a chain rather than flushing against the ceiling, this would be the time to adjust it to your desired length. Since each fixture has a unique mechanism for doing that, refer to your instructions before attempting. That being said, there’s likely some extra chain or a cord that will simply need to be shoved up into the ceiling, hidden within the canopy.
You’re all done and it’s now time to reap the rewards of your hard work. If you restore the power and the light doesn’t work, be sure to check all your wire connections, otherwise, enjoy your brand-new, modern LED light fixtures!
Do you have any other questions about basic light fixture installation? If so, drop them in the comments section below to share with our readers.