Free shipping for US orders over $150
Free shipping for US orders over $150
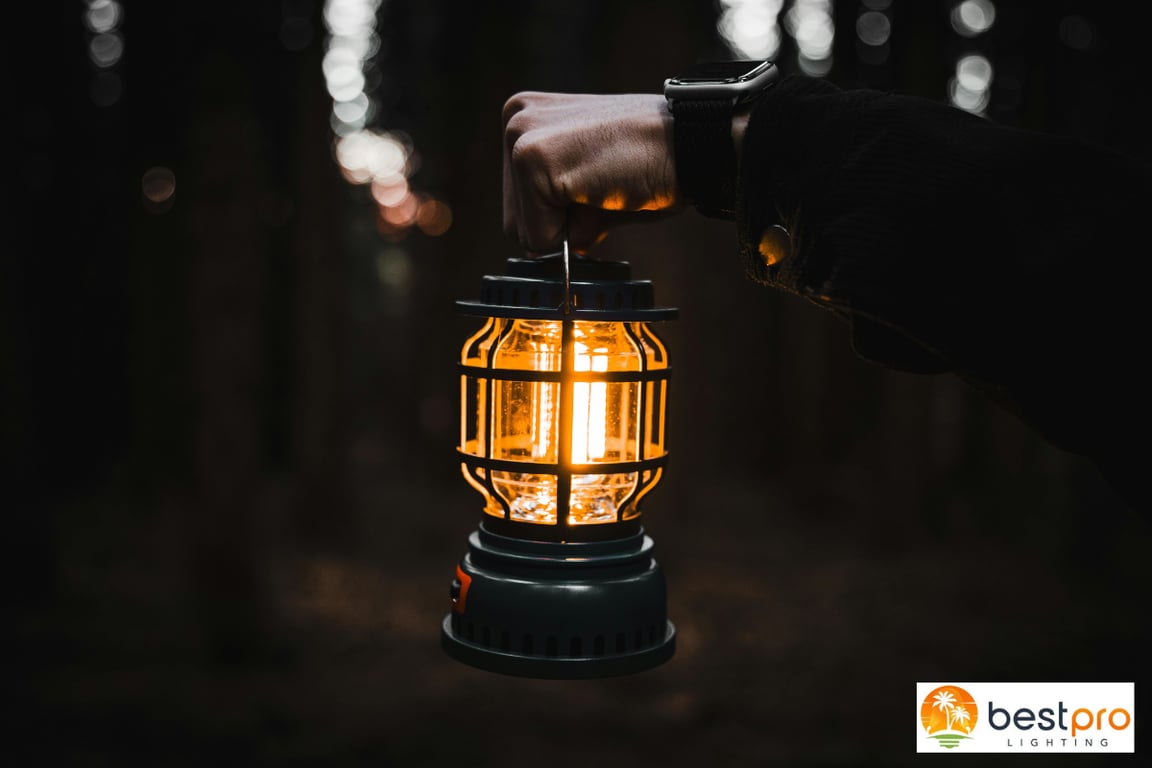
Offering more than mere practicality, your outdoor lighting scheme should set the mood while enhancing safer navigation. While a well-lit patio or entryway instantly makes a space more inviting, the soft glow in certain settings can make your outside space feel more styled and intentional. Even the best-looking hanging lanterns require some setup and maintenance. Between weather exposure and everyday use, outdoor light bulbs will slowly dim or burn out. Swapping them out for bulbs with added longevity keeps your lighting bright and reliable.
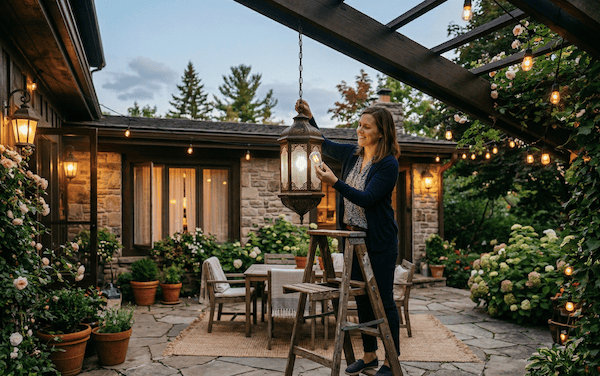
Before swapping out a used bulb, gather everything you need in one place. Balancing a ladder and tools at the same time can be frustrating. Changing outdoor light bulbs is simple, but the right tools make the process easier.
At a minimum, you’ll need:
Swapping light bulbs for outdoor lamps is usually quick and easy, but there are a few safety precautions to keep in mind. Outdoor lighting involves electrical components, weather exposure, and sometimes elevated fixtures.
Here are safety tips from the Best Pro Lighting team:
1. Turn off the power
2. Allow the bulb to cool—unless you’re replacing outdoor LED light bulbs.
3. Set up a stable ladder.
4. Open the lantern’s housing—depending on the design, you may need to remove the top or remove an access panel.
5. Remove the old bulb.
6. Insert the new bulb.
7. Close and secure the fixture.
8. Restore power and turn on your fixture to test the light.
Q: What type of light bulbs should I use for outdoor hanging lanterns?
A: Use bulbs specifically rated for outdoor use. They are designed to handle moisture and temperature changes.
Q: Are outdoor LED light bulbs better than traditional bulbs?
A: Yes. LEDs use less energy, last longer, and perform better in outdoor environments than incandescent or halogen bulbs.
Q: Can I use indoor bulbs in outdoor lanterns?
A: No. Indoor bulbs are not designed to handle outdoor moisture or temperature fluctuations.
Q: How long do outdoor LED light bulbs last?
A: Most outdoor LED bulbs last between 25,000 and 50,000 hours.
Q: Why is my outdoor lantern not working after replacing the bulb?
A: The bulb may not be seated properly, there may be a loose connection, or the fixture itself may need inspection by an electrician.

Opening Hours
Monday – Friday 7:30am - 3:30pm PST

Need Help?
Fast answers to common questions.

Stay in the Loop
Be the first to know about new arrivals, sales & tips — it's free!